The Mistakes Almost Everyone Makes
We've shipped tens of thousands of wall decals to customers across more than forty countries. From the messages we receive, we know almost exactly which mistakes happen most often. And which ones turn a ten-minute project into a frustrating Saturday afternoon. The good news: every one of these mistakes is preventable.
Here are the seven most common wall decal application mistakes, with practical fixes for each. If you read this before applying your next decal, you'll avoid the calls we hear most often, save yourself headaches, and end up with a wall you love.
Mistake 1: Applying to Freshly Painted Walls
Of every problem we hear about, this is number one. A wall looks dry. The paint is no longer tacky to the touch. The customer believes, reasonably, that the wall is ready.
But paint takes far longer to fully cure than it does to dry. Most water-based wall paints are dry to the touch in two to four hours, but the underlying paint film continues to harden and chemically cure for up to four weeks. During that time, applying any kind of adhesive can cause the paint to lift when the decal is later removed. Or in some cases, when it's initially repositioned during application.
The fix: wait at least four weeks after your wall was last painted. If you can't wait, test on an inconspicuous spot first. Apply a small piece of decal (or a strip of regular masking tape) to a low corner, wait 24 hours, and remove. If any paint comes off, your wall isn't ready.
“Paint that looks dry on top is still curing underneath for 28 days.”
Mistake 2: Skipping Surface Prep
A surface that looks clean often isn't. Dust, oil from skin, residue from cleaning products, and microscopic particles all reduce the bond between vinyl and wall. A decal applied to an unprepared wall can lift at the corners within days.
The fix: wipe the wall with a slightly damp microfiber cloth (water only). Let the wall fully dry (15 to 30 minutes). Skip household cleaners, dusters with chemical residue, and especially anything with bleach or ammonia. These leave a film that prevents the adhesive from making proper contact. The most reliable preparation is the simplest: water, microfiber, patience.
Mistake 3: Choosing the Wrong Wall
Not every wall is a good candidate for a decal. And choosing the wrong wall sets the whole project up to fail before you even open the package.
The fix: before ordering, check three things. First, your wall surface. Smooth painted drywall is ideal. Textured walls (orange peel, popcorn, stucco), brick, and heavily porous surfaces struggle to make adhesive contact and may release prematurely. Second, your paint finish. Satin, eggshell, and semi-gloss finishes hold decals beautifully. Flat (matte) paints are slightly less reliable, especially in humid environments. Glossy paints are excellent. Third, your wall's environment. Walls behind radiators, in direct summer sun, or in steamy bathrooms experience heat and humidity cycles that can affect adhesion over time.
Mistake 4: Rushing the Application
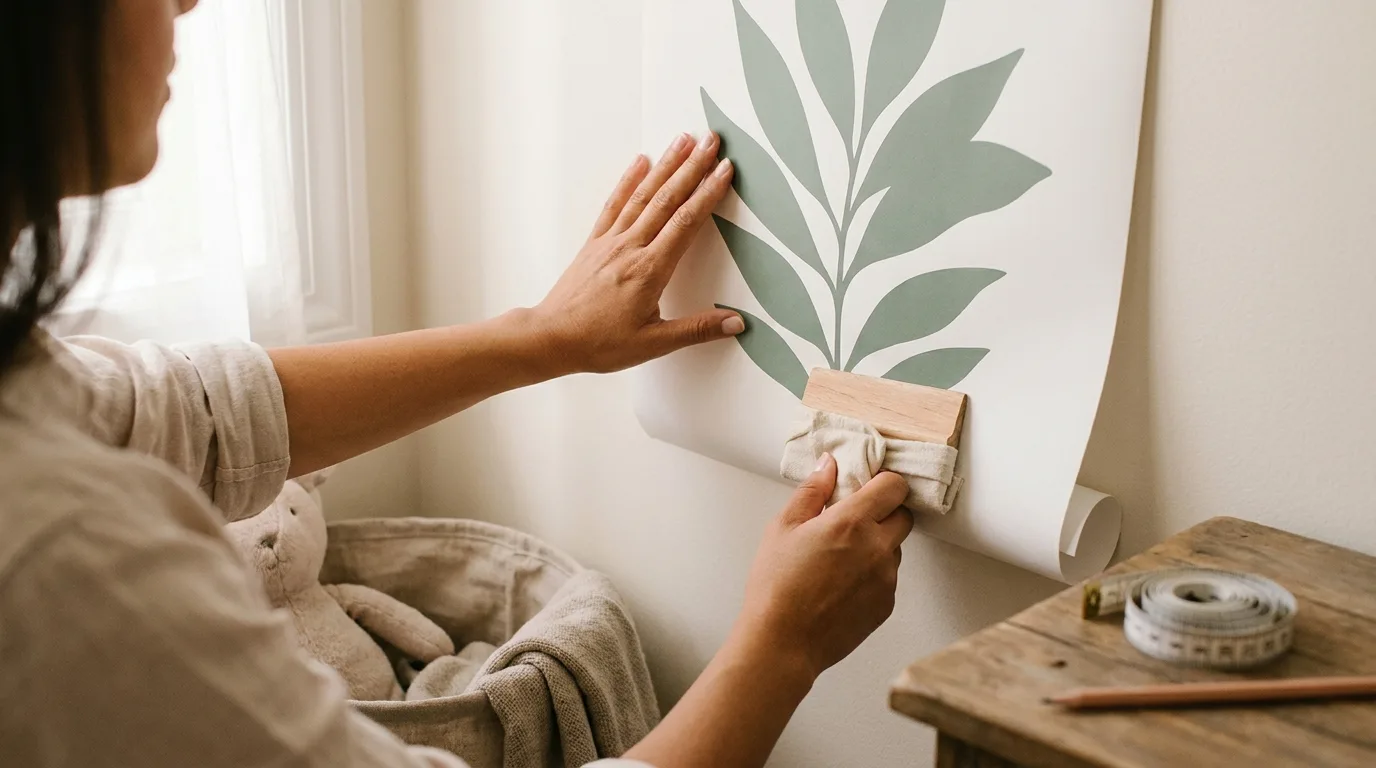
Most decal applications fail because someone is in a hurry. They peel the backing too quickly, slap the decal against the wall in one go, and end up with bubbles, wrinkles, or a misaligned design that has to come straight back off.
The fix: slow down. Use painter's tape to mark your final position before peeling any backing paper. Then peel only the top few inches of backing, fold it under, and align the exposed top edge with your marked position. Smooth from the top down with a soft squeegee, peeling the backing progressively as you go. Working from the center outward prevents trapped air. The entire process should take eight to fifteen minutes. If you finish in two, something probably went wrong.
“Eight to fifteen minutes is the right pace. Two minutes means something went wrong.”
Mistake 5: Wrong Position, Wrong Height
A perfectly applied decal in the wrong position looks worse than no decal at all. The most common positioning errors: hanging the decal at adult eye level (when the room is for a child), placing it too high above a crib so the focal point lands in dead space above the bed, or off-centering it from the wall's natural focal point.
The fix: before peeling anything, live with the position for a day. Cut paper to the exact dimensions of your decal and tape it where you plan to apply. Look at it the next morning, from the doorway, from the crib, from the rocking chair. If the position feels right from every viewpoint, that's your spot. We've stopped countless decals from being applied eight inches too high.
“We have stopped countless decals from being applied eight inches too high.”
Mistake 6: Pulling at the Wrong Angle on Removal
When it's time to take the decal down, the angle at which you pull determines whether the wall stays intact. Many people pull straight outward from the wall. That's exactly what damages paint.
The fix: lift a small corner with your fingernail, then pull at a 45-degree angle parallel to the wall, slowly. The decal should release in one piece. If you feel resistance or hear paint cracking, slow down further and try a slightly sharper angle. Speed creates damage. Patience doesn't. A ten-minute careful removal is the difference between a clean wall and a weekend of patching and repainting.
“Speed creates damage. Patience does not. Pull at 45 degrees — always.”
Mistake 7: Choosing the Wrong Vinyl for Your Walls
Not all wall decals are the same. Cheap printed vinyl from generic retailers often uses permanent adhesive, thin film that bubbles in seasonal humidity, and prints that fade within months. The result is a decal that looks great in week one and disappointing by year two, with damage on removal.
The fix: choose decals designed specifically for wall application with removable, air-release adhesive and a thicker vinyl film engineered to release cleanly from properly painted drywall after years of use. AdesiivoStudio decals are matte-finished to suit modern interior palettes, printed with UV-cured inks for color fastness, and made to order in our own workshop. The decal that looks slightly more expensive at the order page is almost always the cheaper one over time. Browse our collection to start your own.