The Renter's Decor Dilemma
Renting shouldn't mean living with bare walls. But for the millions of families on year-to-year leases, the fear of losing a deposit can make any decor project feel risky. Paint is permanent. Wallpaper damages drywall on removal. Hooks and nails leave holes that need filling. The result is often a beautiful family living inside a beige rectangle they wouldn't have chosen.
Removable wall decals change that conversation. Quality vinyl is designed, from the adhesive up, to come off cleanly. No holes, no residue, no patched paint, no awkward end-of-lease cleanup. Here's how they actually work, which surfaces they love, how to apply them so removal is painless, and what to tell your landlord so you can decorate with real confidence.
How Removable Vinyl Actually Works
The science behind a renter-friendly decal sits in the adhesive. Standard vinyl uses a permanent acrylic that's strong, durable, and not designed to come off without effort. Removable wall decals use a low-tack acrylic adhesive instead. It bonds firmly enough to stay flat on the wall for years, but releases cleanly when you pull it away at the right angle.
At AdesiivoStudio, every decal we make uses this removable adhesive system with air-release backing. Tiny channels in the adhesive let air escape during application (no trapped bubbles) and let the decal lift smoothly later. The vinyl itself is a thin, flexible film that conforms to small surface variations without lifting at the edges. The result: a decal you can apply today, photograph for the family group chat tomorrow, and pull off three years from now without a trace.
“Removable vinyl bonds for years and lifts in seconds — that is the whole trick.”
Surfaces That Work (and Two to Avoid)
Most painted drywall is excellent for removable decals. The combination of a smooth surface and a fully cured paint film creates the right conditions for a clean apply and a clean release later. If your walls are smooth and have been painted for more than four weeks, you're in great shape.
A few surfaces are different. They make decals struggle, not because the decal fails, but because the surface itself does. Here's how to tell which side your wall sits on:
- Works beautifully: smooth painted drywall with a satin, eggshell, or semi-gloss finish
- Works beautifully: glass, mirrors, tile, and laminate furniture
- Works beautifully: smooth doors, painted or laminated
- Works beautifully: metal surfaces like fridges, lockers, and steel cabinets
- Works beautifully: smooth varnished or sealed wood
- Avoid: textured walls (orange peel, popcorn, brick). The adhesive can't make full contact.
- Avoid: walls painted in the last three to four weeks. Uncured paint can peel along with the decal.
“Four weeks of cure time is the rule. The wall that looks ready isn't.”
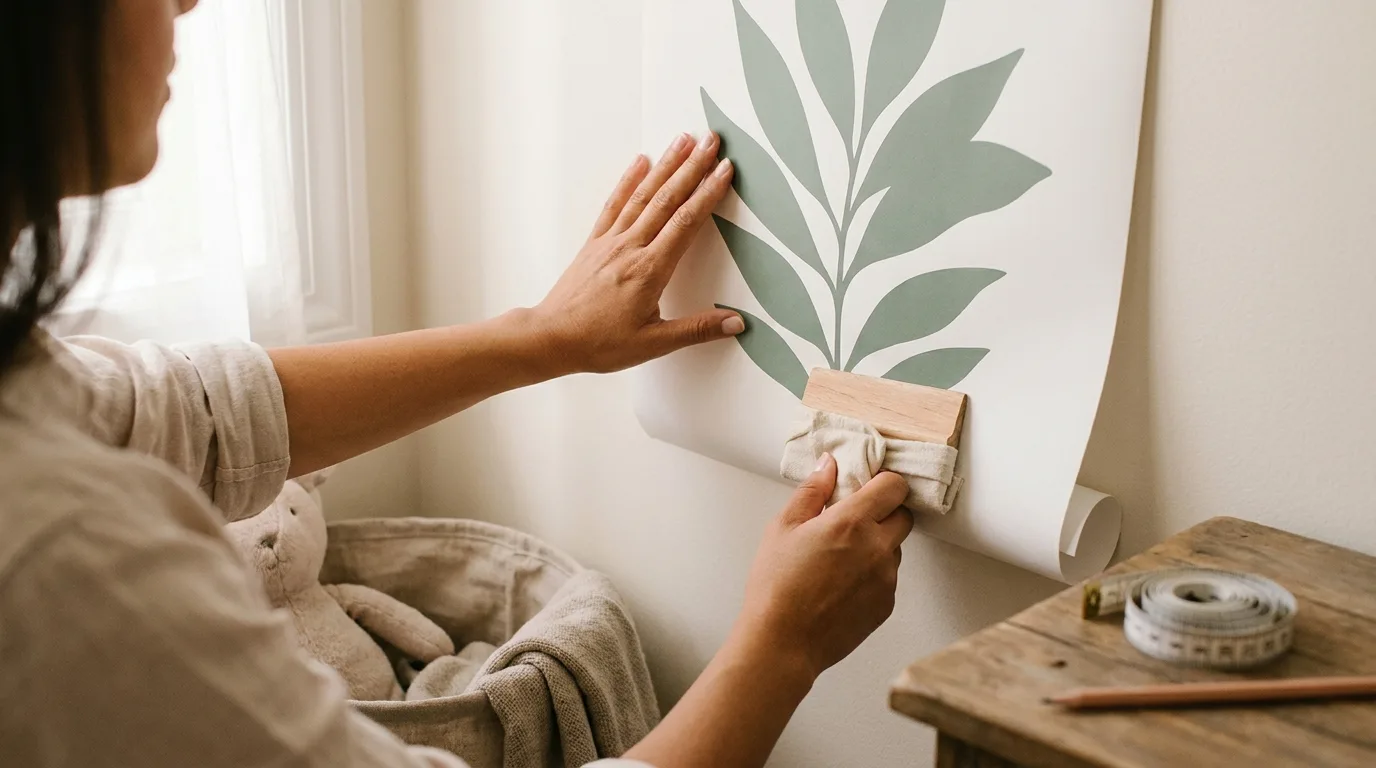
Six Application Tips for a Painless Removal Later
How you apply a decal directly affects how easy it is to remove. A careful application creates the conditions for a clean removal. That means a clean wall on the day you hand back the keys. These six tips make the difference between a stress-free move-out and a panicked Saturday with a putty knife.
- Clean the wall with a damp microfiber cloth (water only). Skip household cleaners; residue can compromise the adhesive bond.
- Wait at least four weeks after any wall has been painted before you apply a decal. Paint that looks dry on top is still curing underneath for up to 28 days.
- Use painter's tape, not the decal itself, to test placement. Tape leaves no residue and lets you live with the position for a day before committing.
- Apply firm but gentle pressure with a soft squeegee or a credit card wrapped in cloth. Working from the center outward prevents trapped air.
- Avoid pressing or scrubbing the decal repeatedly over time. The longer the adhesive sits undisturbed, the cleaner it releases later.
- Keep the decal away from direct heat sources: radiators, south-facing walls in summer sun, kitchen splashbacks above stoves. Heat can cure the adhesive deeper into the paint.
How to Take Decals Down Cleanly When You Move
When move-out day comes, removal should take five to ten minutes per decal. Not a weekend project. Start in the top corner and lift the edge with your fingernail. Once you have a small flap, pull slowly at a 45-degree angle, parallel to the wall. The decal should release in one piece. If you feel resistance, slow down further and pull at a slightly sharper angle. Speed creates damage. Patience doesn't.
If any adhesive residue remains (rare with quality vinyl), a soft cloth with a dab of isopropyl alcohol or a drop of dish soap in warm water will lift it. Skip abrasive sponges, razor blades, and citrus cleaners. All of them can damage paint. Done right, the wall looks exactly as it did the day you moved in. We've had customers move the same family-name decal through three rental homes over five years.
“Five to ten minutes per decal. That is the entire move-out cost.”
What to Say to Your Landlord (Before and After)
A two-sentence email at the start of your lease can prevent any deposit dispute. Tell your landlord you plan to use removable wall decals (temporary, no-damage adhesive vinyl) and offer to share before-and-after photos of the room. Most landlords appreciate the heads-up and the documentation. Some will just say yes. Others will be relieved you asked instead of wallpapering.
If you live somewhere that bans any wall modification at all, take photos before you apply and again after you remove. With removable decals, the two sets of photos look identical. That documentation is your protection in the rare case of a dispute. We've had customers frame their before-and-after shots side by side as a badge of decor freedom.
Decal Ideas That Feel Like Home, Without the Damage
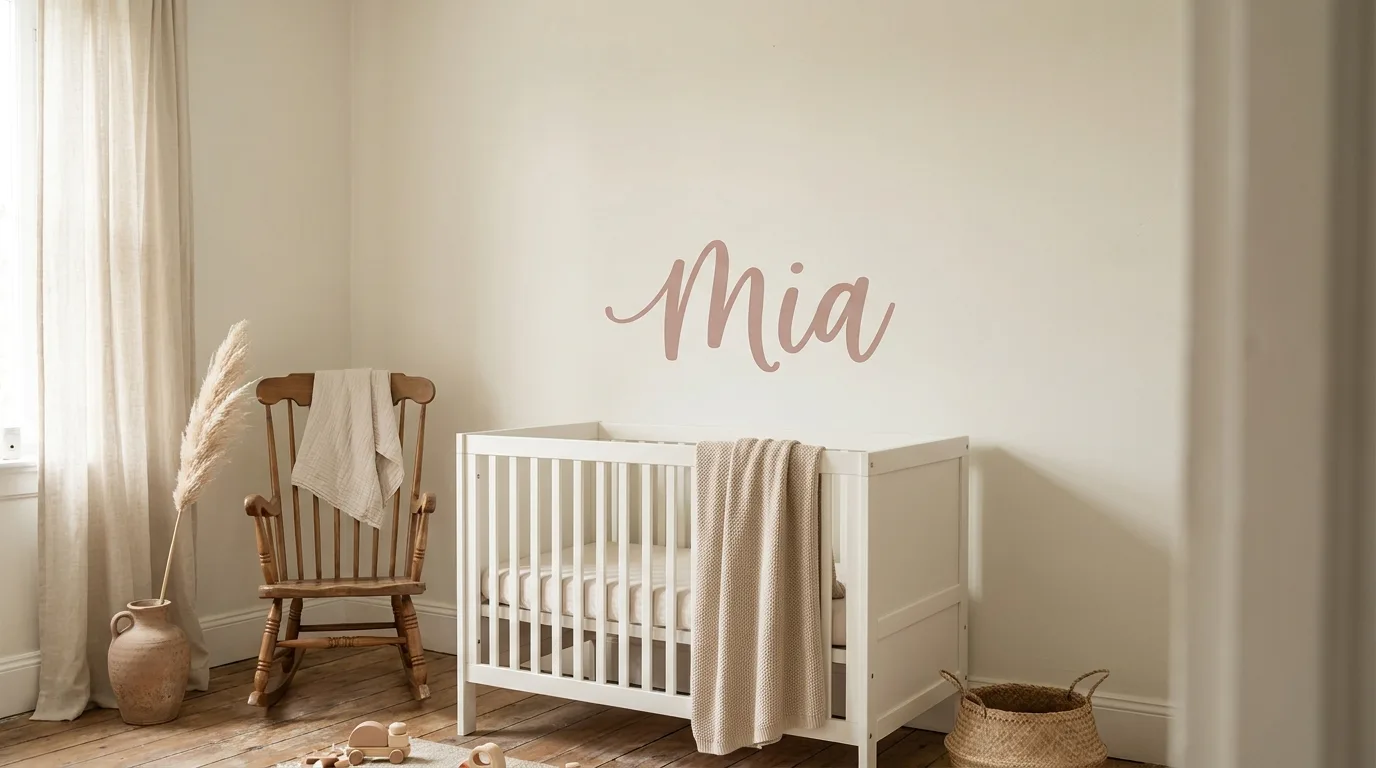
Renting doesn't mean accepting blank walls until you buy. Some of the most photographed kids rooms on our customer wall come from rented apartments. The most renter-loved designs at AdesiivoStudio share three traits. They create real visual impact, so the room feels designed and not borrowed. They're repositionable across multiple homes, so they grow with the family. And they bring true personalization, so the space feels like yours, not the landlord's.
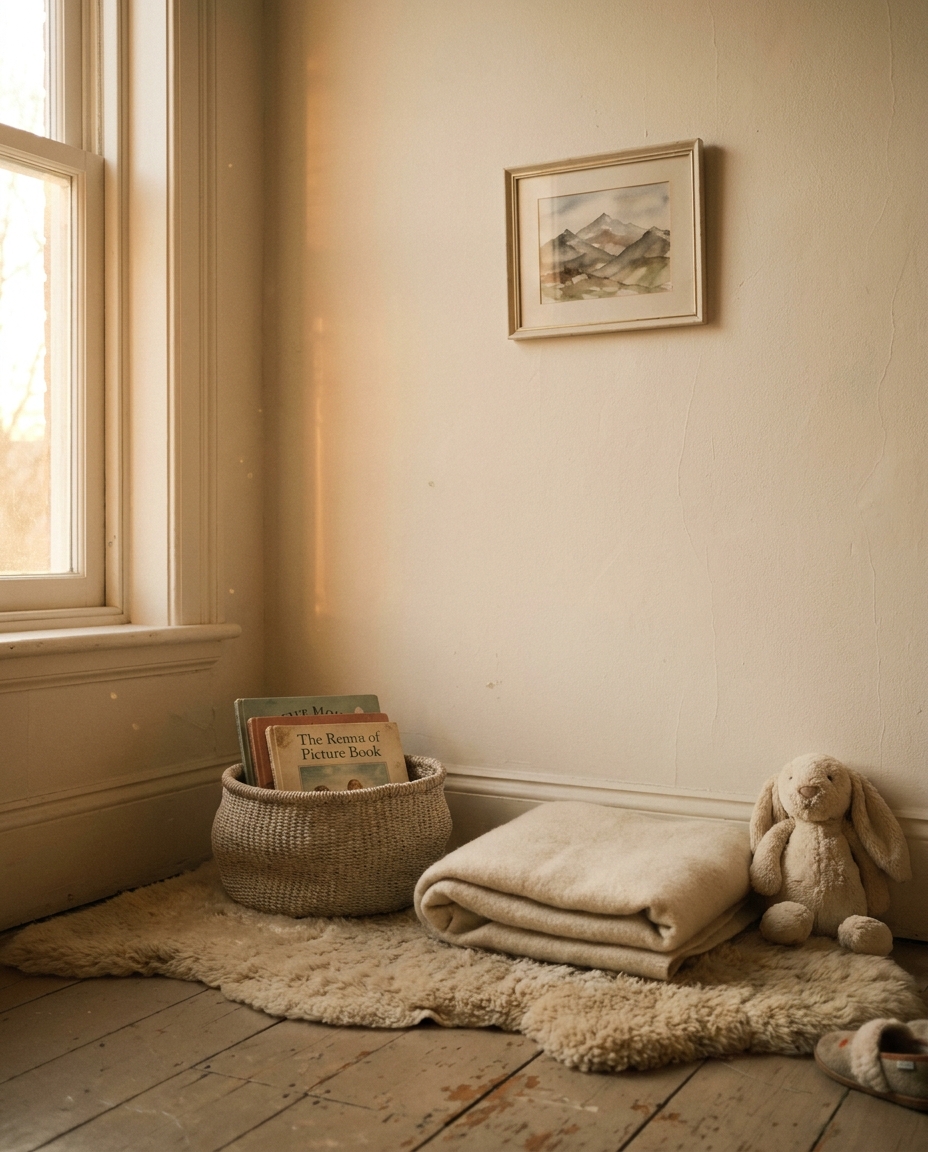
Custom name decals above the crib. A full safari scene that turns one wall into a savanna. Removable growth charts that travel from apartment to apartment as your child grows. Mountain murals for the small bookworm. Ceiling stars that turn bedtime into an adventure. Every one of these comes off cleanly when your lease ends. Browse our collection and start decorating with real confidence.
“Some of the most photographed kids rooms on our customer wall come from rented apartments.”